


How to Clean Dog Ears Safely at Home
 Tips & Training
Written by
Kosar KoohiUpdated 6 August 2026 · 5 Min Read
Kosar is the editor of Pretty Fluffy, a lifelong dog lover, and the proud mom of Yuki, a Maltese who has very high standards. So does Kosar. She researches everything obsessively before it ever makes it onto the page.
There is a moment every dog mom knows. Your dog tilts their head, gives it a hard shake, and you catch a whiff of something that was definitely not there last week. Knowing how to clean dog ears, and knowing when to leave them well alone, is one of those quiet skills that saves a lot of trouble later.
The technique takes about five minutes. The part most guides skip is knowing when to reach for the cleaner at all.
Does Your Dog Actually Need Their Ears Cleaned?
Not every dog needs a regular clean. A healthy ear is pale pink inside, more or less odorless, and carries only a light film of pale wax. If that describes your dog, check the ears weekly and otherwise leave them alone.
Cleaning earns its place when wax is visibly collecting at the canal opening, when there is a faintly yeasty smell, or after a gritty day at the beach. Over-cleaning is a real risk: repeated flushing strips the natural wax that keeps the canal slightly acidic, and the irritation that follows can create the exact infection you were trying to head off.

What to Use to Clean Dog Ears
You need surprisingly little, and it should all be within reach before you call your dog over.
- A dog-specific ear cleaning solution that is alcohol free and pH balanced for dogs. The gentle, alcohol free cleaner we reviewed is a fair benchmark for what to look for.
- Cotton wool balls, cotton pads, or gauze squares.
- A clean towel for spills and the head shake that is coming.
- A generous handful of treats. This is how the routine stays easy for the next ten years.
- A second pair of hands if your dog is wriggly, anxious, or simply large.
If you are unsure which solution suits your dog, your vet or groomer will point you to the right formula, and our dog grooming directory is a good place to browse brands.
What Should Never Go Near the Ear Canal
Home remedies are where most ear cleaning goes wrong, usually with the best intentions.
- Hydrogen peroxide and rubbing alcohol. Both sting on inflamed skin and irritate the lining of the canal, which is why veterinary guidance advises against them.
- Vinegar and water. Acidic, drying, and painful on any broken skin you cannot see.
- Cotton buds. They push debris deeper and can reach the eardrum. This is the most common way owners cause damage.
- Olive oil, coconut oil, and baby oil. They soften wax but leave a residue that traps moisture and feeds yeast.
- Human ear drops, face wipes, or baby wipes. Wrong pH, wrong ingredients, often fragranced.
- Plain water. With no drying agent it simply sits in the canal.
The Step by Step Ear Cleaning Routine

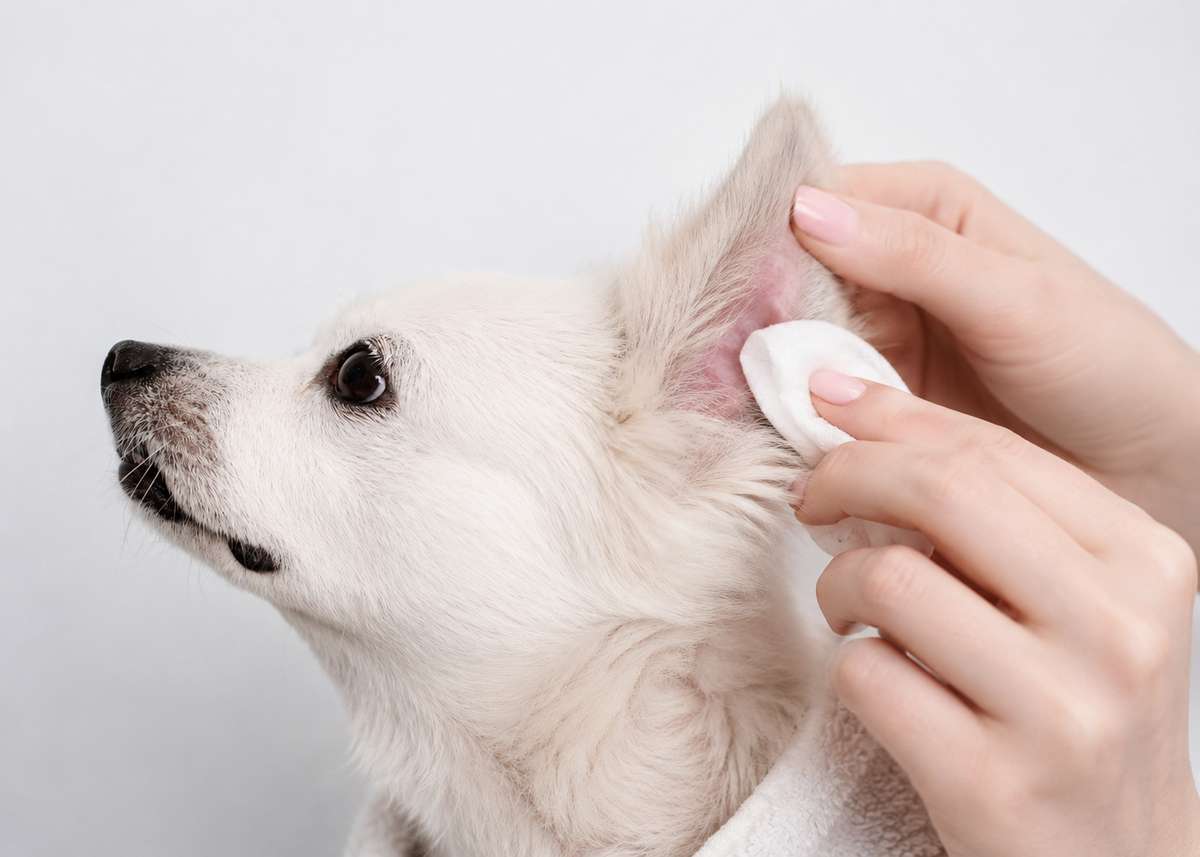
To clean a dog's ears, fill the ear canal with a dog-specific ear cleaner, massage the base of the ear for about 30 seconds, then step back and let your dog shake their head. Wipe away the loosened wax and cleaner with cotton wool wrapped around your finger, going no deeper than your first knuckle. Never push cotton buds into the canal, and never use hydrogen peroxide, alcohol, or vinegar. Most healthy dogs need this every two to four weeks at most.
- Get settled somewhere calm. The floor beats a table for most dogs, and small dogs can sit in your lap.
- Look before you pour. Lift the ear flap and check for redness, swelling, discharge, or a strong smell. If you find any, stop and book a vet appointment instead.
- Fill the canal. Hold the flap up and back and squeeze the solution in until the canal is full, keeping the nozzle at the entrance rather than inside it.
- Massage the base of the ear for around 30 seconds. A soft squelching sound means the solution is working through the canal.
- Let them shake. Step back and shield your face. The shake brings loosened wax up out of the canal, doing half the work for you.
- Wipe, do not dig. Wrap cotton wool around your index finger and wipe the visible folds and the canal entrance. Nothing goes past the first knuckle.
- Repeat on the other ear, then finish with treats so the next clean is easier.

If your dog dreads having their ears touched, split it across several days: touch the ear and treat, lift the flap and treat, hold the bottle nearby and treat. If they growl or panic, stop. That often means the ear already hurts.
How to Flush a Dog's Ear Without Hurting Them
At home, flushing just means filling the canal with cleaner and letting the massage lift debris a wipe could never reach. What it does not mean is a syringe, a bulb, or pressurized water.
Deep flushing is a veterinary procedure, sometimes done under sedation, because it requires knowing the eardrum is intact.

How Often Should Ears Be Cleaned?
| Your dog | Suggested frequency |
|---|---|
| Upright ears, no history of problems | Monthly at most, sometimes not at all |
| Floppy or heavily furred ears | Every two to four weeks |
| Regular swimmers | After each swim, using a drying solution |
| Allergy-prone or infection-prone dogs | As directed by your vet, often weekly |
A weekly look is more valuable than a weekly clean. Thirty seconds with the ear flap lifted catches problems while they are still small.
Ear Shapes That Need Extra Attention
A dog's ear canal is shaped like an L, so gravity alone will never drain it. Add a heavy flap over the top and you have a warm, humid space, which is why Cocker Spaniels, Basset Hounds, Beagles, Cavaliers, and Labradors see the vet for ear complaints far more often than pricked-ear breeds.
Water is the most common trigger, so dry the ears after every swim, and when you work through our dog bathing guide, keep them out of the spray. Plucking ear hair is no longer routine, since removing hair that is not causing a problem can inflame the canal.

Warning Signs That Mean a Vet Visit Instead
Ear cleaner is for maintenance, not treatment. Putting a solution into an infected or injured ear can make things worse, particularly if the eardrum has ruptured, which you cannot check for at home. Call your vet if you notice:
- Persistent head shaking, tilting, or scratching at one ear
- Dark coffee-ground discharge, or anything yellow or green
- A strong or sour odor
- Redness, swelling, or heat inside the ear
- Flinching or yelping when you touch the ear
- Loss of balance, circling, or a sudden drop in hearing
These are the signs of otitis externa, the outer ear inflammation that is one of the most common reasons dogs see a vet. It rarely clears on its own, and the underlying cause, often an allergy, needs identifying to stop it returning.
FAQ
Frequently asked questions
01Can I use hydrogen peroxide to clean my dog's ears?
No. Hydrogen peroxide irritates the lining of the ear canal and stings sharply on inflamed or broken skin. It can also leave moisture behind, which encourages the yeast and bacteria you are trying to discourage. A dog-specific cleaner is safer and works better.
02Can I use coconut oil or olive oil in my dog's ears?
It is not recommended. Oils soften wax, but they do not lift or drain it, and the residue holds moisture in the canal for days. That creates a warm, damp environment where yeast thrives. Oil also makes the ear harder for a vet to examine properly later.
03Do dog ear wipes work as well as a liquid ear cleaner?
Wipes are excellent for the outer folds of the ear and for quick tidy-ups after a muddy walk. What they cannot do is reach into the canal, which is where wax and moisture actually collect. Use wipes for maintenance between proper cleans, not instead of them.
04Is it safe to clean a puppy's ears?
Puppies rarely need cleaning, since problems take time to develop. What they do need is practice. Handle the ears gently and pair it with treats from day one so the routine feels normal later. Ask your vet before using any solution on a puppy under twelve weeks.
05Why do my dog's ears still smell after cleaning?
A lingering odor usually means the smell is coming from inside the canal rather than the surface, which points to an infection rather than a hygiene issue. Cleaning will not fix it and may irritate things further. Book a vet appointment so the cause can be identified properly.
Related Reading


Share a thought, ask a question, or tell us about your own dog. We read every comment.