
Make Your Own Colour- Dipped DIY Dog Bowls
Add a personal touch to your dog's bowl.
Ever since the colour dipping trend burst onto the scene, I’ve been dying to make and decorate my own DIY dog bowls.
So today, I’ll be sharing how you can do this yourself in 3 simple steps. Between you and me, you won’t believe how easy (and inexpensive) it is!
I specifically chose the containers below because they come with an airtight seal lid. That way, if your dog is staying with a friend or going on a dog-friendly holiday, you can easily fill with their food and seal.

Then, when your pup arrives at their destination, they will have a ready-made meal in their very own homemade colour-dipped dog bowl.
Let’s get painting!
EDITOR’S NOTE: This post may contain affiliate links. If you click one, we may earn a cute commission at no extra cost to you. We only ever recommend products we have personally vetted and think you’ll love as much as we do.
How to Make Your Own Colour- Dipped DIY Dog Bowls

You’ll need:
- 2 x Pyrex dishes (like these ones on Amazon – I chose a larger one for water and a smaller one for food)
- Non-toxic glass paint in your favourite colour
- Foam painting brush
- A large head band or thick elastic band
- Painters tape (as required)
- Newspapers to protect painting surface area


Instructions:
1. Wrap your headband or elastic band around the Pyrex dish and ensure it is sitting evenly in a straight line around the circumference of the bowl. For extra protection, wrap the top half of the bowl with painters tape starting at the head band to ensure no splashes of paint hit the top area (NOTE: Do not use painters tape on its own. Due to the shape of the bowl, the painters tape does not have the stretch to cover the bowl without a few gaps – hence the head band. And no – you will never be able to wear the head band again – sorry!)
2. Paint the remaining exposed area through even brush strokes with the foam brush. Allow to dry as per the paints instructions and apply further coats as needed.
3. Once fully dry, carefully remove your headband and painters tape to reveal your colour dipped dog bowl!

Handy hints:
- Feel free to switch up the dishes from glass to ceramic or other materials. Just make sure you get the correct paint to match.
- I kept the painting to the outside of the bowl to ensure Soda would not come into contact with the paint. Although it’s non toxic, I erred on the cautious side just to be safe.
- If you have access to an airbrush or spray paint machine try spraying on the paint for a glossy finish.
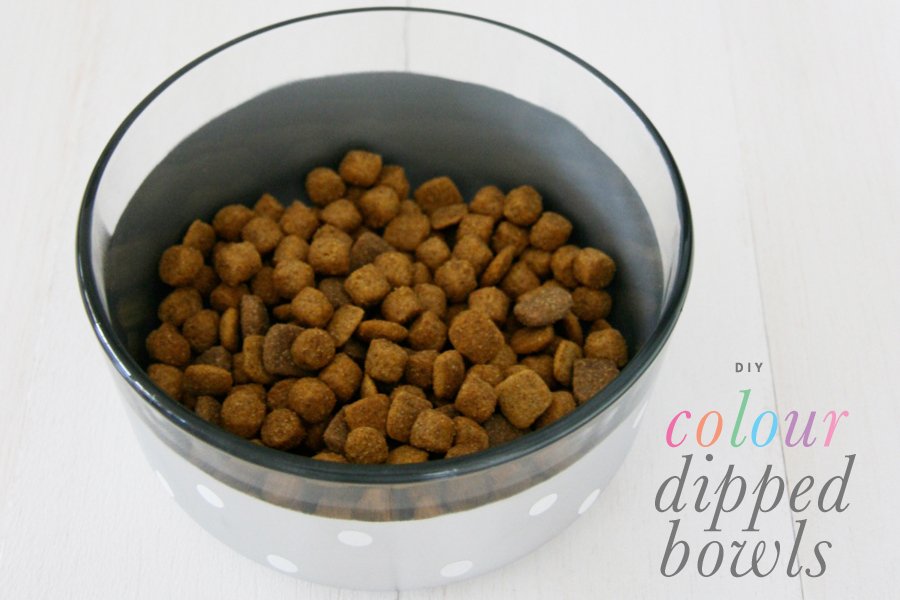
- Experiment with different colours and patterns – I tried a polka dot theme to dress up my silver bowls.
- Hand wash any colour dipped dishes to ensure the colour stays fresh for longer.
Happy dipping!
Discover stylish dog bowls at the Dog Lovers Directory
Discover the best in quality, modern dog bowls and designer pet accessories at the Pretty Fluffy Dog Lovers Directory.
Pretty Fluffy is the ultimate lifestyle destination for dog lovers. Discover the best designer dog brands and emerging small pet businesses, the latest dog accessories, healthy dog treat recipes, dog training tips and more. Thank you for being part of our dog-loving community!
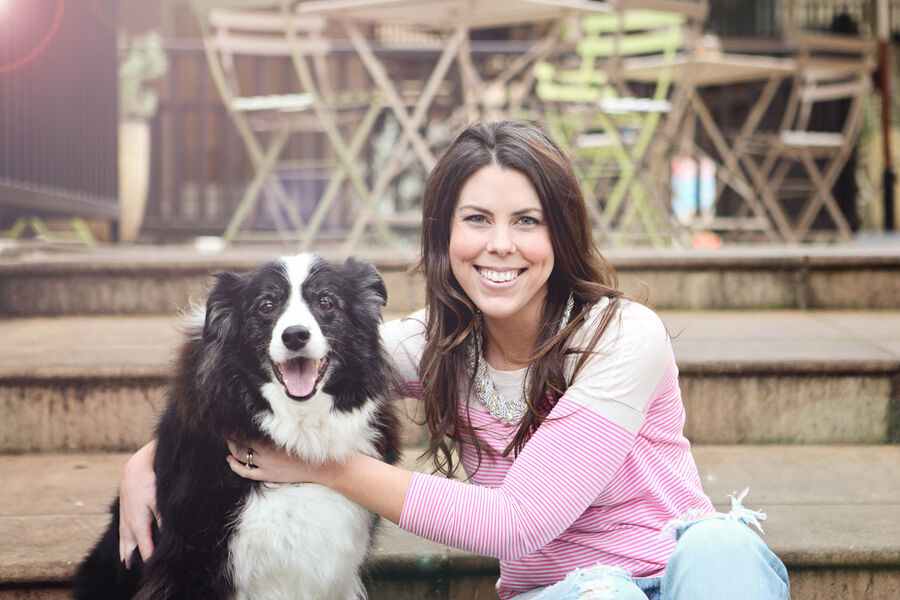
Pet lifestyle expert Serena Faber-Nelson is the founder of Pretty Fluffy. A contributor to Everyday with Rachael Ray, Modern Dog Magazine, Cesars Way and more; her modern, stylized take on DIY dog treats has seen her recipes viewed millions of times over.
Serena is the author of the go-to dog mom bible, Dog Mama, and the popular dog treat recipe book, Healthy Homemade Dog Treats.


-
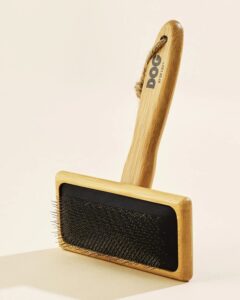
 DOG By Dr Lisa Dog Brush
lovely everyday brush for dog parents who want something gentle and easy to use.

-
DOG By Dr Lisa Dog Brush
lovely everyday brush for dog parents who want something gentle and easy to use.
Thanks everyone! It was a fun project and not too hard. I was originally going to go with pink bowls, but the paint I chose did NOT match the sample on the box (think ugly!), so we went with silver and polka dots! 🙂
What a creative idea!! I love this! Coco does need to add a little color to her ‘dining area’ 🙂 Soda’s has the coolest mom ever.
I LOVE this! Need to make Add some cool travel bowls
I love the polka dots!